How to change your single speed to fixed gear
Posted by James on 30th Mar 2017
If you're new to the single speed / fixed gear scene then you've probably heard a pile of different terms chucked around and wondered if they're the same thing. You may even be second guessing what you've bought, what it is, and what it's capable of. If you haven't already, check out our post on how single speed bikes work to get a better understanding of the basics, and then...
follow on with this post to learn how to switch between single speed and fixed gear on your Mango Bike
Fixed vs Free
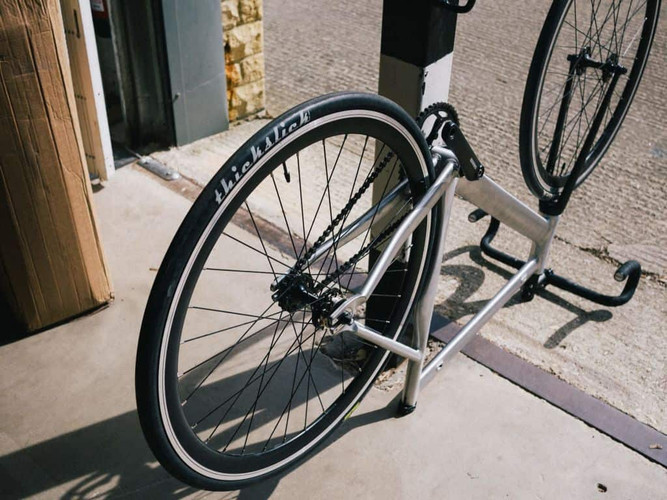
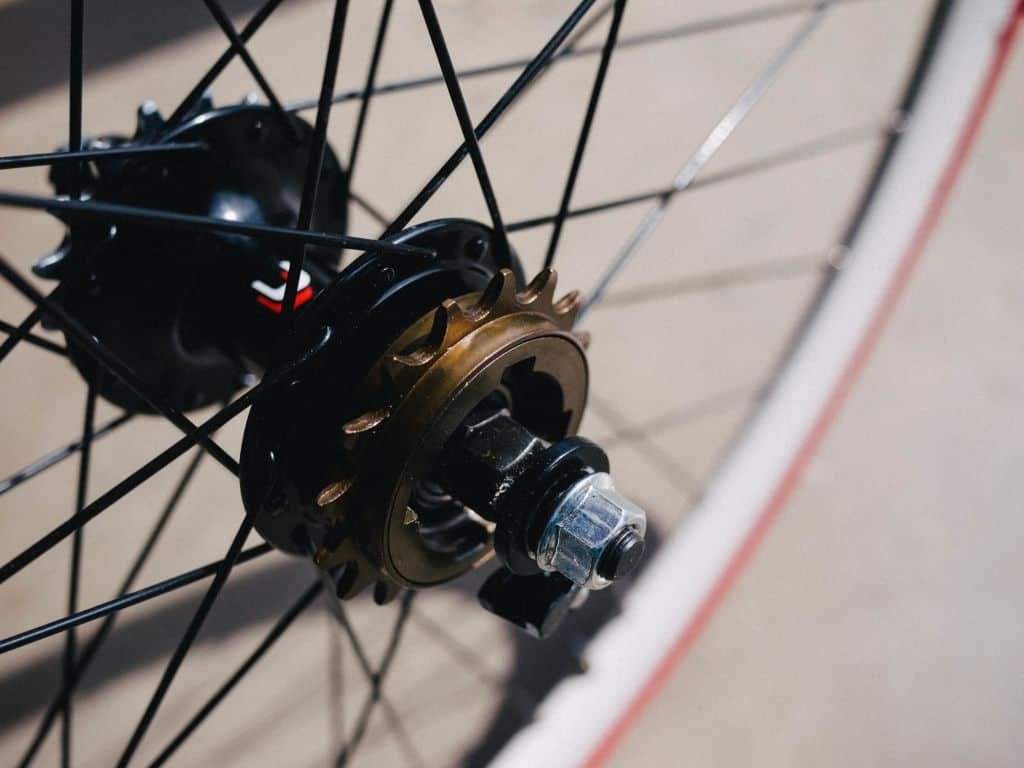
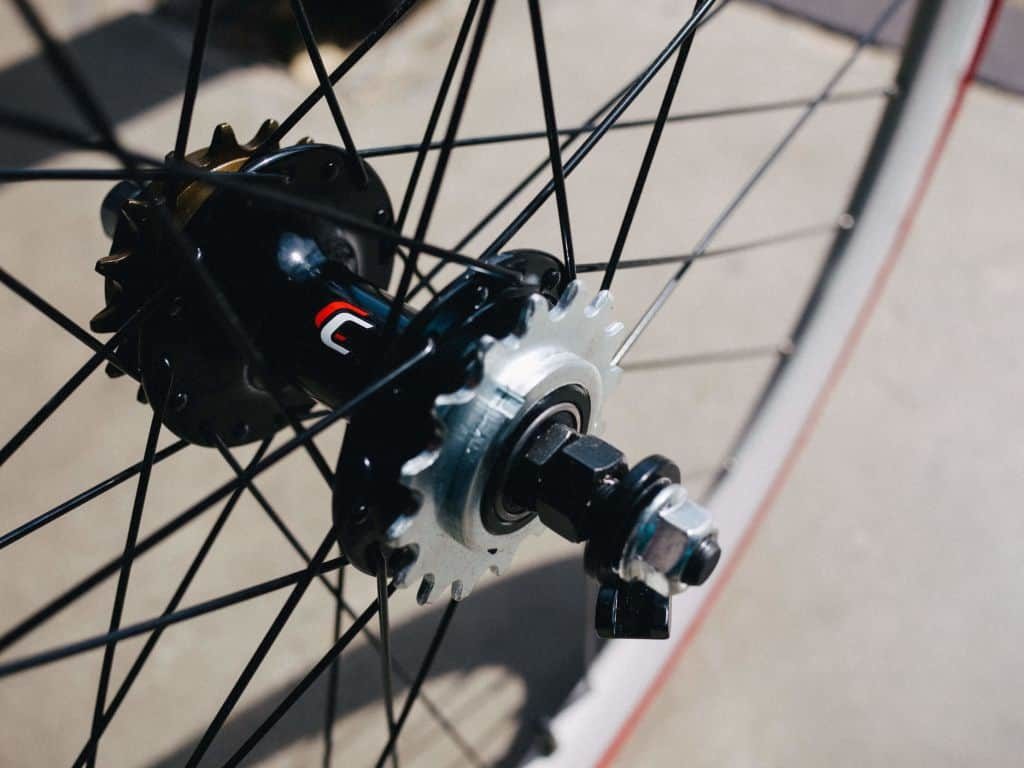
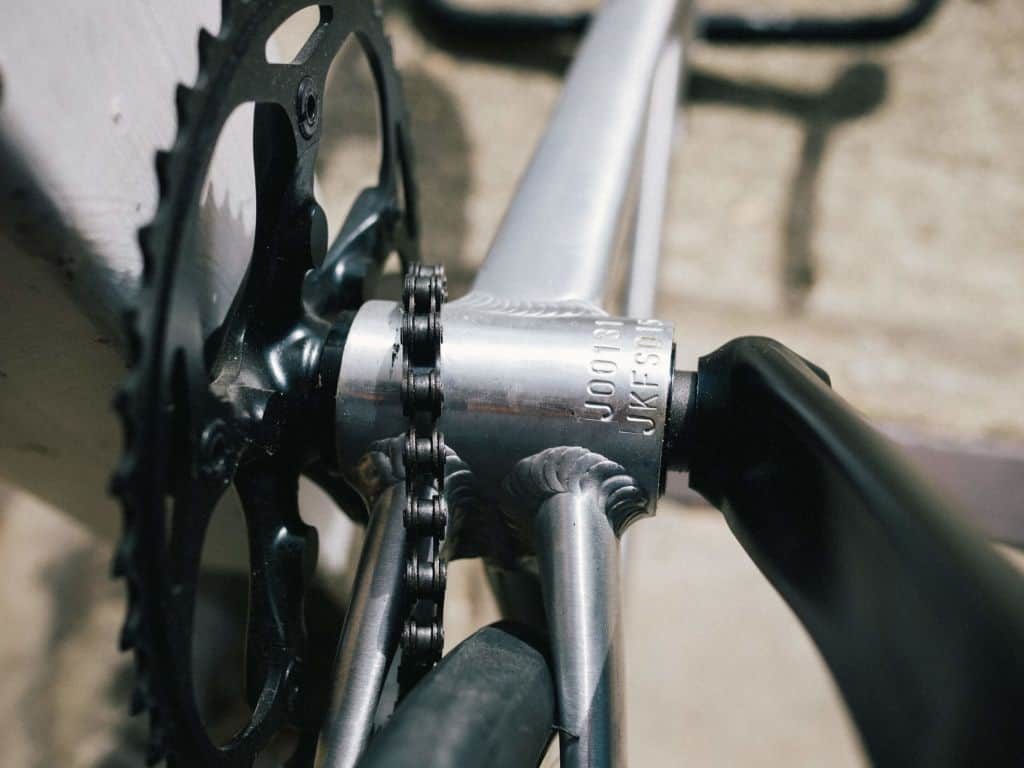
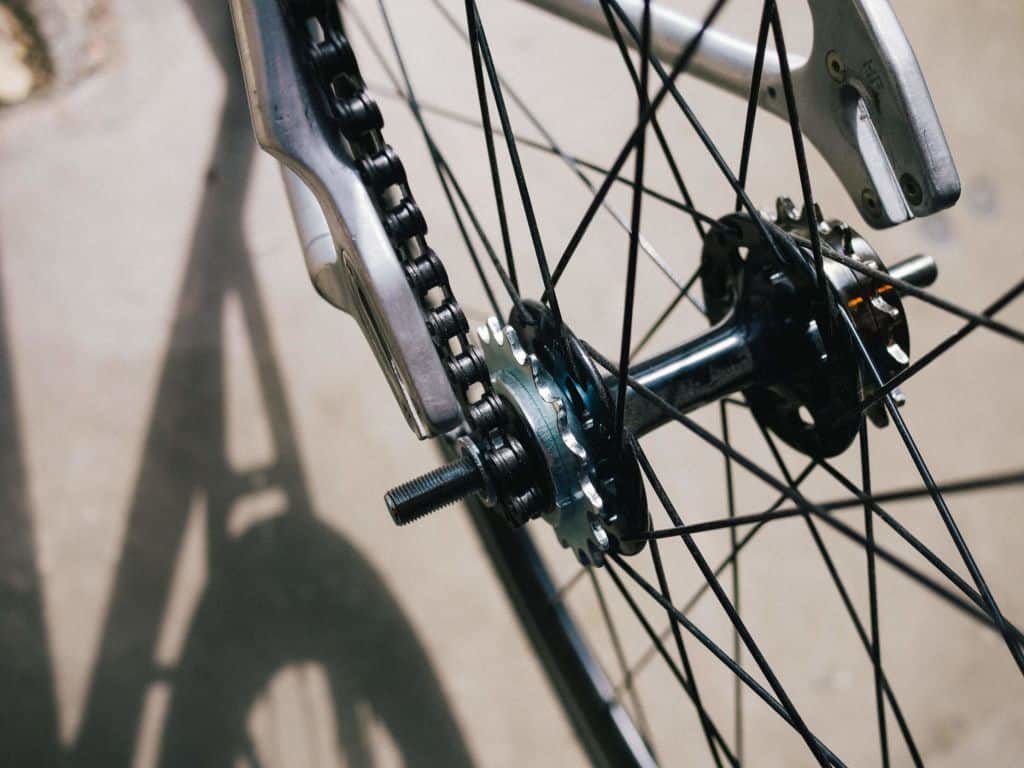
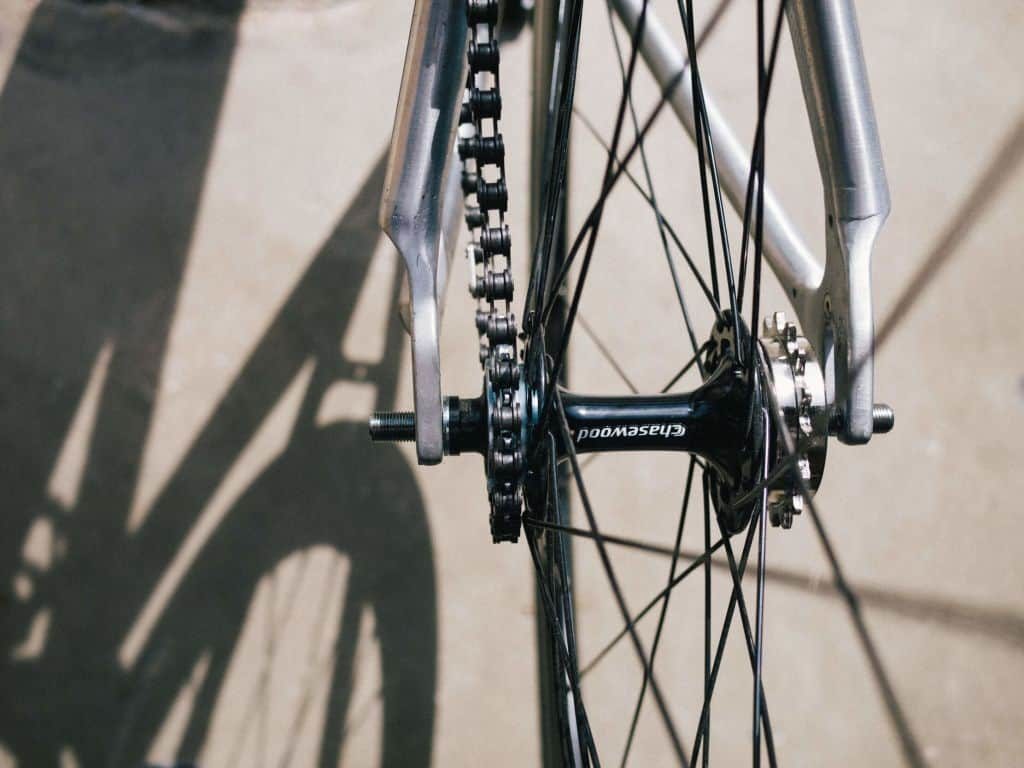
All of our single speed / fixed bikes feature a flip-flop hub. Our flip-flop hubs have a cog on both sides, one which is a freewheel (allows the rear wheel to spin without the pedals moving, which is described as "coasting"), and one which is fixed (the pedals will always spin when the back wheel moves). As standard, all of our bikes are sent out with the chain set up on the freewheel side.
|
|
|
Switching from freewheel to fixed gear - Le'go!
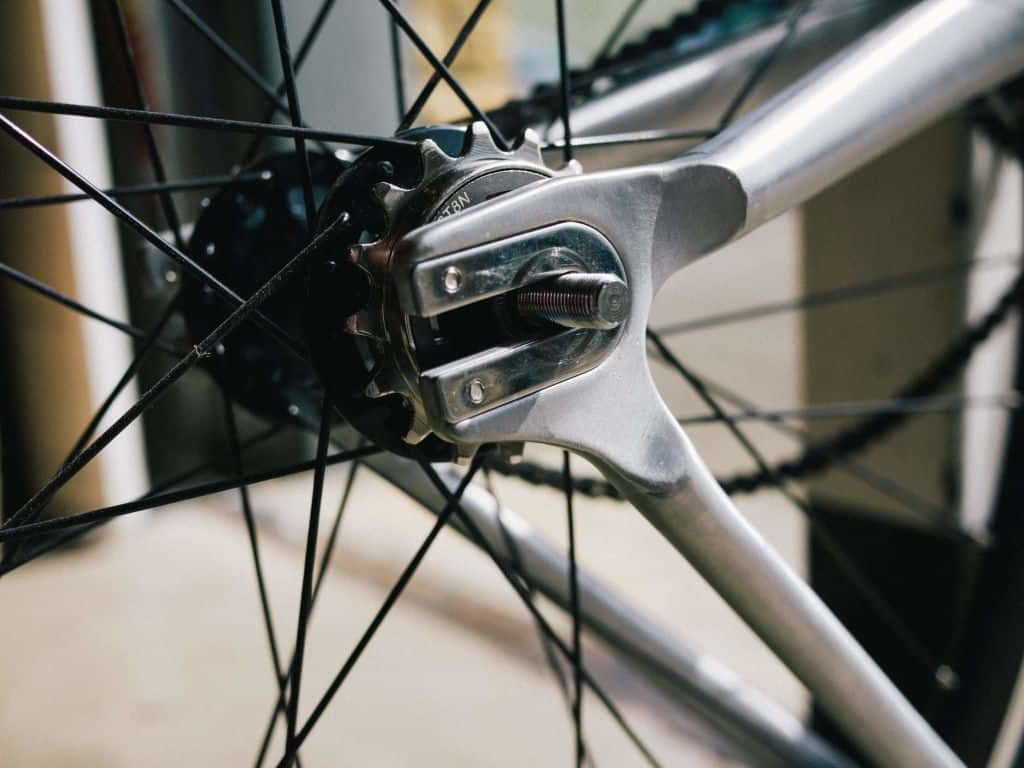
As mentioned previously, unless you've specifically asked for your bike to be set up fixed gear it will be set up on the freewheel which is typically referred to as "single speed". This is your starting point. It's really a very simple process; you'll be taking the chain off, flipping the rear wheel 180 degrees and then replacing the wheel and chain.
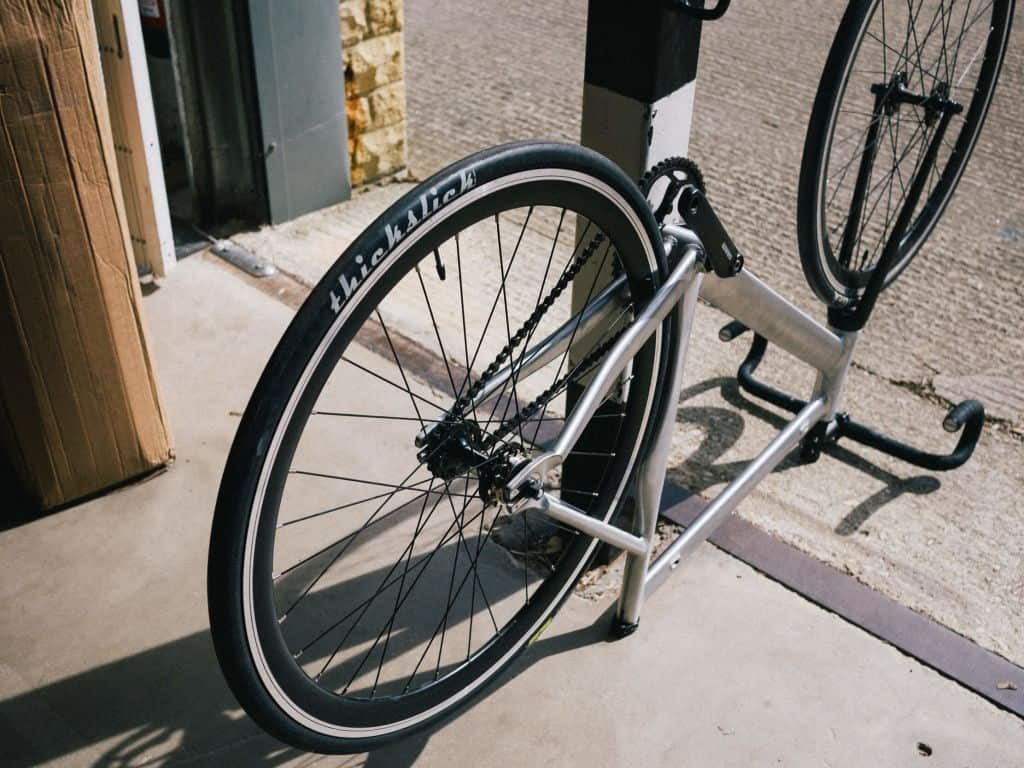
1. Get your bike on it's back
Flip that thing over, safely, and make sure it doesn't fall and hit the cat or break something.
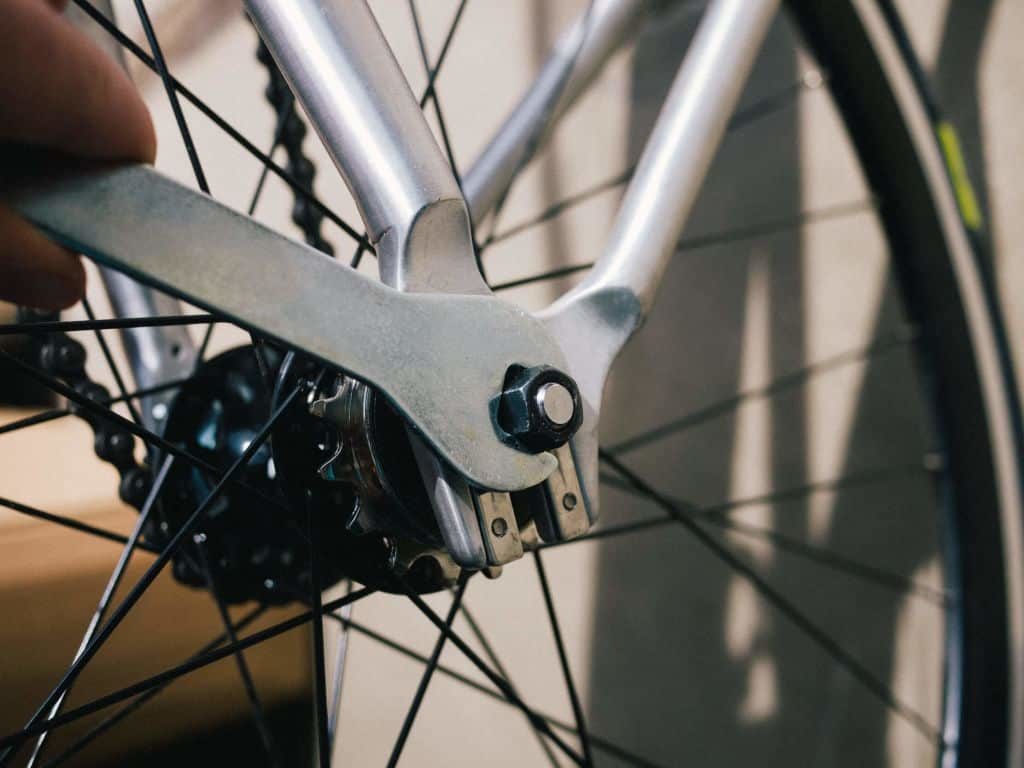
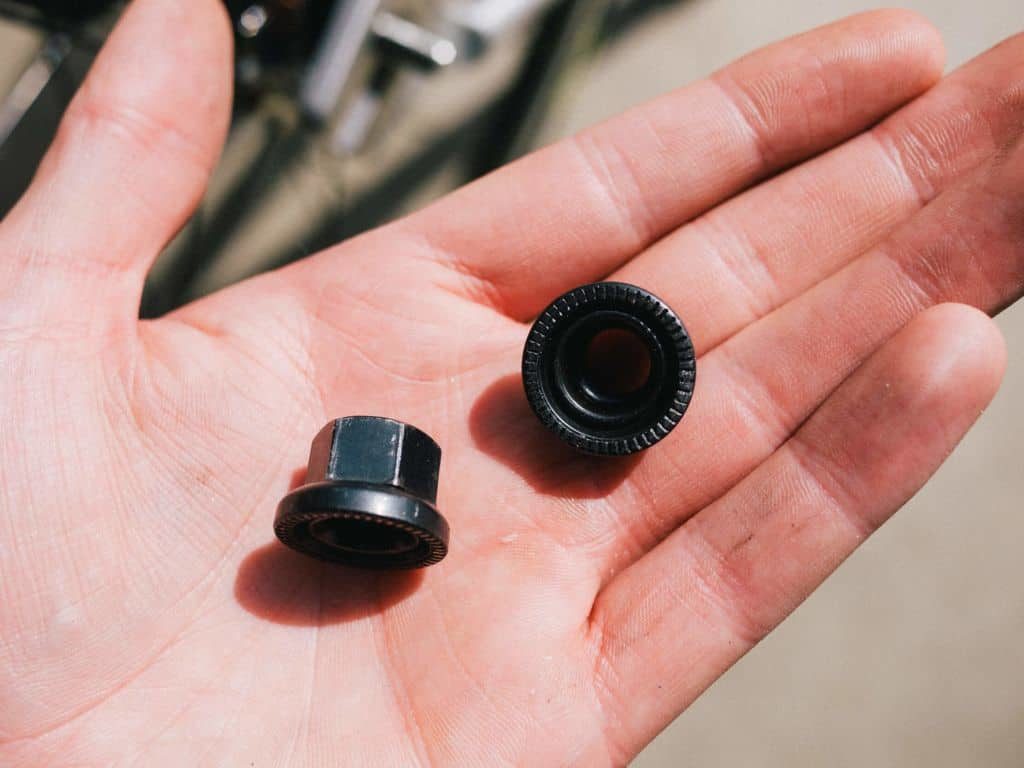
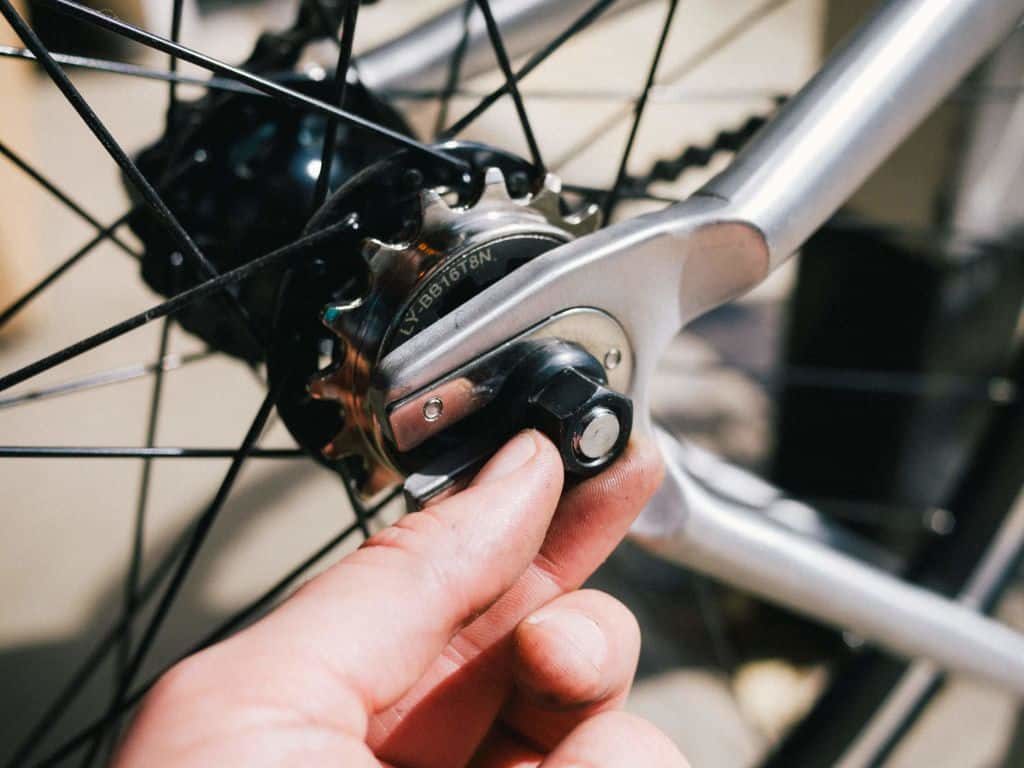
2. Remove the rear wheel nuts
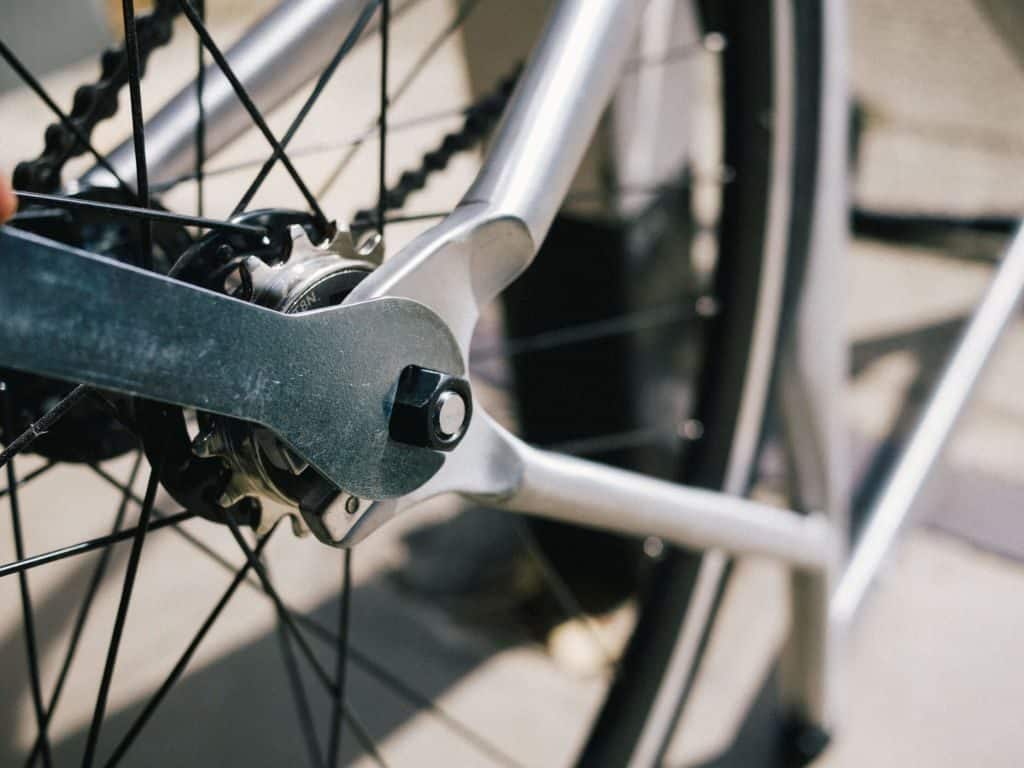
Take out that spanky little 15mm spanner that came with your bike and remove the rear wheel nuts. Remember—lefty loosey, righty tighty (it's just pedal threads that don't follow this mnemonic—careful with those!)
|
|
|
|
3. Take off the chain
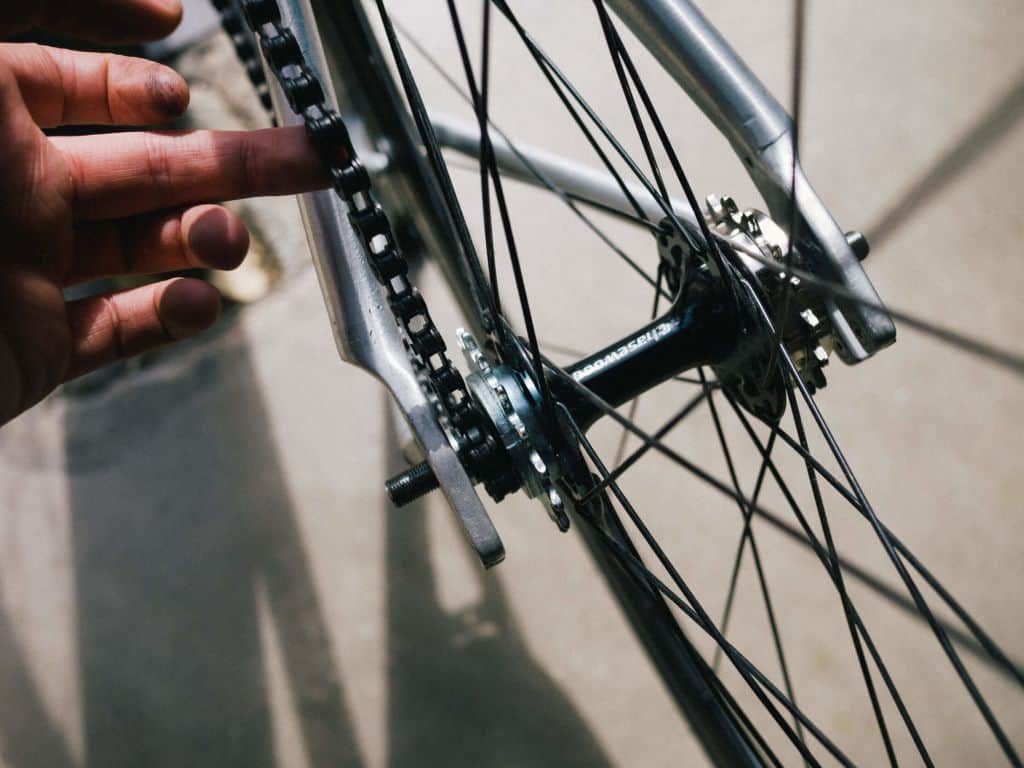
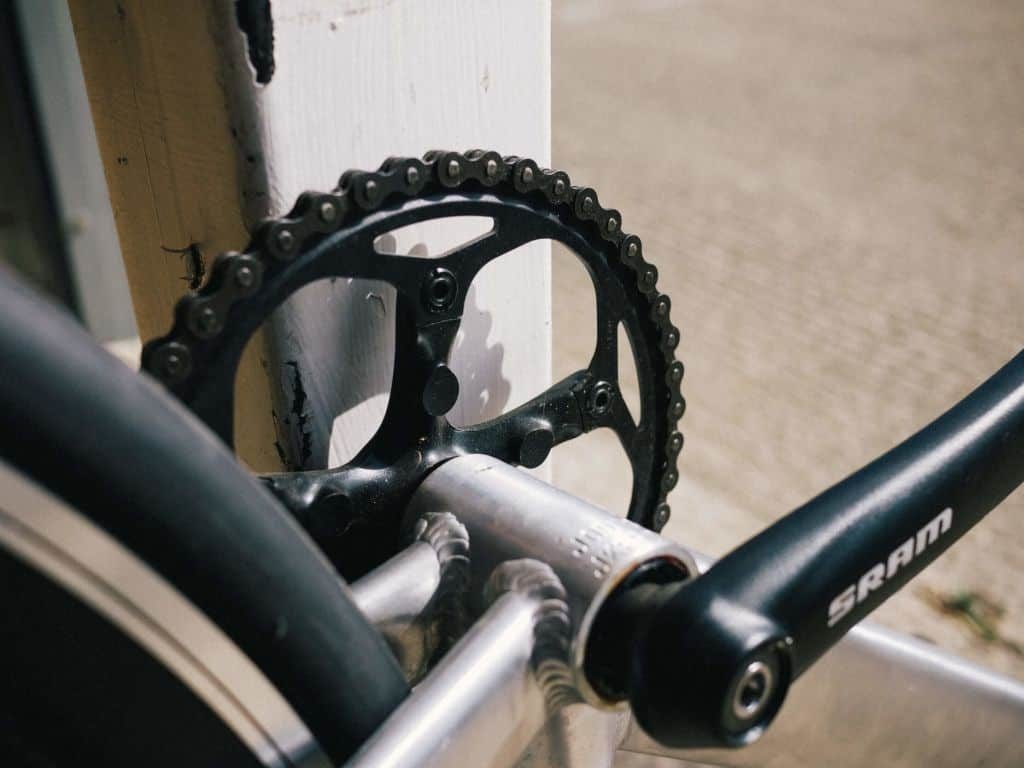
Push your rear wheel towards the body of the bike and carefully take off the chain.
|
|
|
|
4. Spin the wheel around
You can do it.
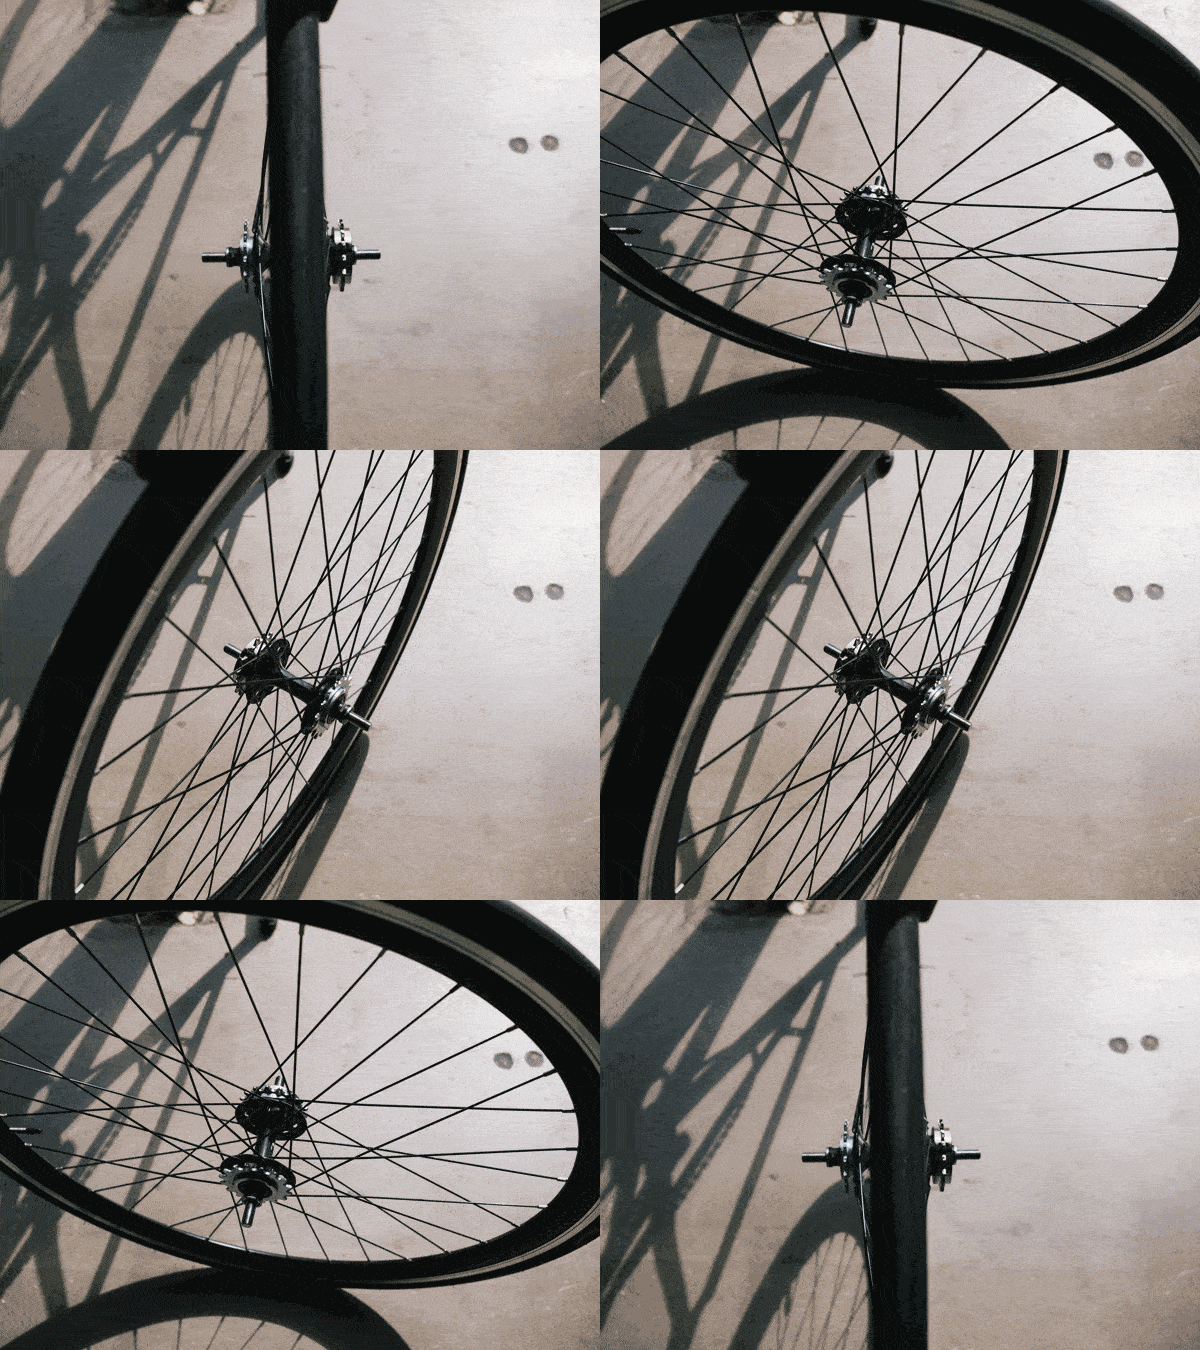
5. Put the chain on the fixed cog and replace the wheel
|
|
|
|
Make sure the chain is over the axle and resting close to the hub before trying to put the wheel in the dropouts. Then as before but in reverse, carefully slide the chain back on.
6. Screw the rear wheel nuts back on
Use your trusty spanner again to tighten nuts back on, ensuring that the wheel is centrally aligned between the chainstays.
|
|
|

